How to Create ISO Files from PS2 Discs
If you still have your old PlayStation 2 game collection lying around, you can actually keep them alive digitally by turning them into ISO files. An ISO file is a perfect copy of a game disc that can be loaded into emulators like AetherSX2. This way, you can play your PS2 games on your Android phone, PC, or even a handheld emulator without needing the original discs.
In this guide, you’ll learn how to safely create ISO files from your PS2 discs using your own computer.
What You Need Before Starting
Before you start, make sure you have the following:
- A working PS2 game disc
- A computer or laptop with a DVD drive
- A disc ripping tool (software that converts discs into ISO files)
- Enough storage space on your drive (around 4 GB per game)
If your computer doesn’t have a DVD drive, you can use an external USB DVD reader. They’re inexpensive and work perfectly for this process.
Step 1: Install a Disc Ripping Program
To create an ISO file, you’ll need software that can copy the full contents of your disc. The most popular and reliable options are:
- ImgBurn (Windows)
- PowerISO (Windows)
- Brasero (Linux)
- Disk Utility (Mac)
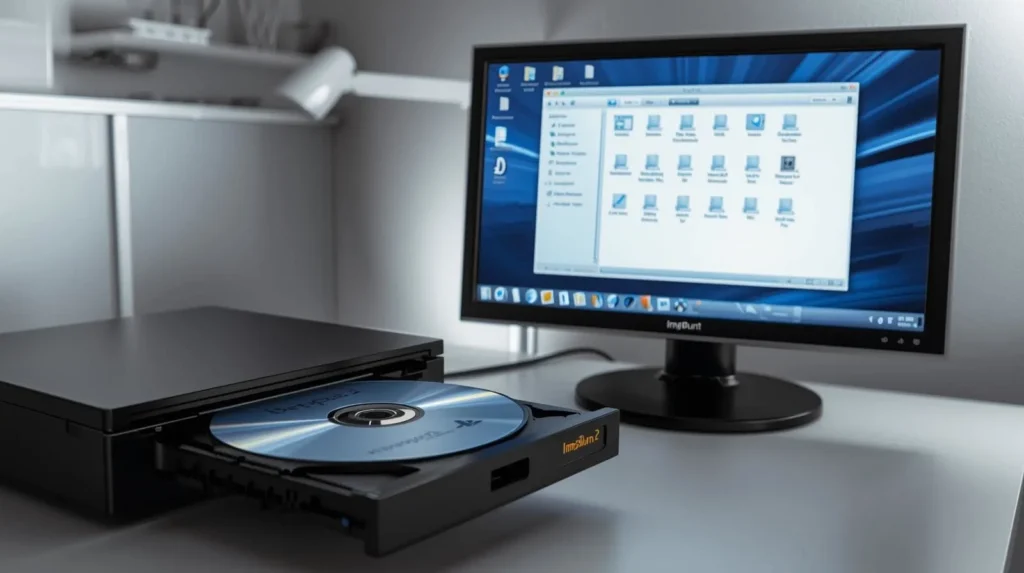
For most users, ImgBurn is the easiest choice. You can download it from the official site.
Once installed, open ImgBurn and choose “Create image file from disc.”
Step 2: Insert Your PS2 Game Disc
Place your original PS2 disc into your DVD drive. Wait a few seconds for your computer to recognize it. ImgBurn or your chosen program should automatically detect the disc.
If your system doesn’t read it, check that the disc isn’t scratched or dirty. Wiping it gently with a soft cloth usually helps.
Step 3: Create the ISO File
In ImgBurn (or similar tools), you’ll see an option that says “Destination.” Choose where you want to save your ISO file — it’s best to create a folder named “PS2 ISOs” so everything stays organized.
Next, click “Read” or “Start.”
The software will now copy the full game data and turn it into an ISO file. Depending on your DVD drive speed, this can take between 10 to 20 minutes.
When it’s done, you’ll have a complete ISO file of your PS2 game stored on your computer.
Step 4: Verify Your ISO File
Before transferring your new ISO to AetherSX2, make sure it works properly. You can do this in two ways:
- Mount the ISO file on your computer using software like Daemon Tools or Virtual CloneDrive to check if it opens normally.
- Load it directly into AetherSX2 or another PS2 emulator to confirm it runs smoothly.
If it fails to load, the disc might have unreadable sectors, and you’ll need to repeat the process or try a different disc.
Step 5: Transfer ISO to Your Android Device
Once your ISO is ready, move it to your Android device where you have AetherSX2 installed.
You can do this via USB cable, SD card, or cloud storage like Google Drive. Once transferred, open AetherSX2, point it to your ISO directory, and start playing.
For a full setup walkthrough, see our guide:
AetherSX2 BIOS File Download and Setup Guide
Why Create ISO Files from Discs
There are a few good reasons to make ISO files from your PS2 discs:
- It keeps your original discs safe from scratches or damage.
- You can store all your games in one digital library.
- You can play them on AetherSX2 without using physical discs.
- It preserves old games that may no longer be available.
Creating your own ISO files also ensures you’re staying on the legal side since you’re backing up games you already own.
Tips for Better Results
- Use clean, scratch-free discs for the best copy.
- Always save your ISOs in a dedicated folder to stay organized.
- Label your files clearly, for example, God_of_War_II.iso.
- Keep backups on an external drive or cloud storage.
Final Thoughts
Creating ISO files from PS2 discs is one of the best ways to preserve your favorite games. With just a few tools, you can turn your old collection into a digital library that works perfectly with AetherSX2.
It’s simple, safe, and helps you enjoy those classic PS2 titles without worrying about scratched discs or outdated consoles.